

To search by image, you use a reverse image search engine. TinEye is the original reverse image search engine, using image recognition with a growing index of billions of images. You can use TinEye to find out where an image came from, how it is being used, if modified versions of the image exist, or to find a higher resolution version. Let’s learn to do a reverse image search with TinEye!
This guide will cover:
- How to search for an image
- What TinEye does with your images
- Using TinEye browser extensions
- Sorting and filtering search results
- Filtering by stock photo, other image collections, and by domain
- Comparing your image with TinEye results
- Working with TinEye search results
- Using images found with TinEye
- What finding no TinEye results for your search image means
1. How to search for an image
You can search for an image with TinEye in three ways:
- by drag and drop
- by uploading an image
- by giving TinEye a URL (this can be a page URL or an image URL)
The easiest way to search with TinEye is to drag and drop an image onto the TinEye webpage in your browser.
To search by uploading an image, just click the upload button (blue arrow in a circle) to select from your computer or device the image you’d like to search with.
You can search with a web address (URL) by simply copying the link into the search box on TinEye.

The above example is a direct image URL. Searching by direct image URL is the same as uploading an image from your computer: TinEye will process that image and search the index for matches. If you supply a link to a webpage with multiple images on it, TinEye will do the work to find images on that page. Then you’ll be able to choose which image to search for.
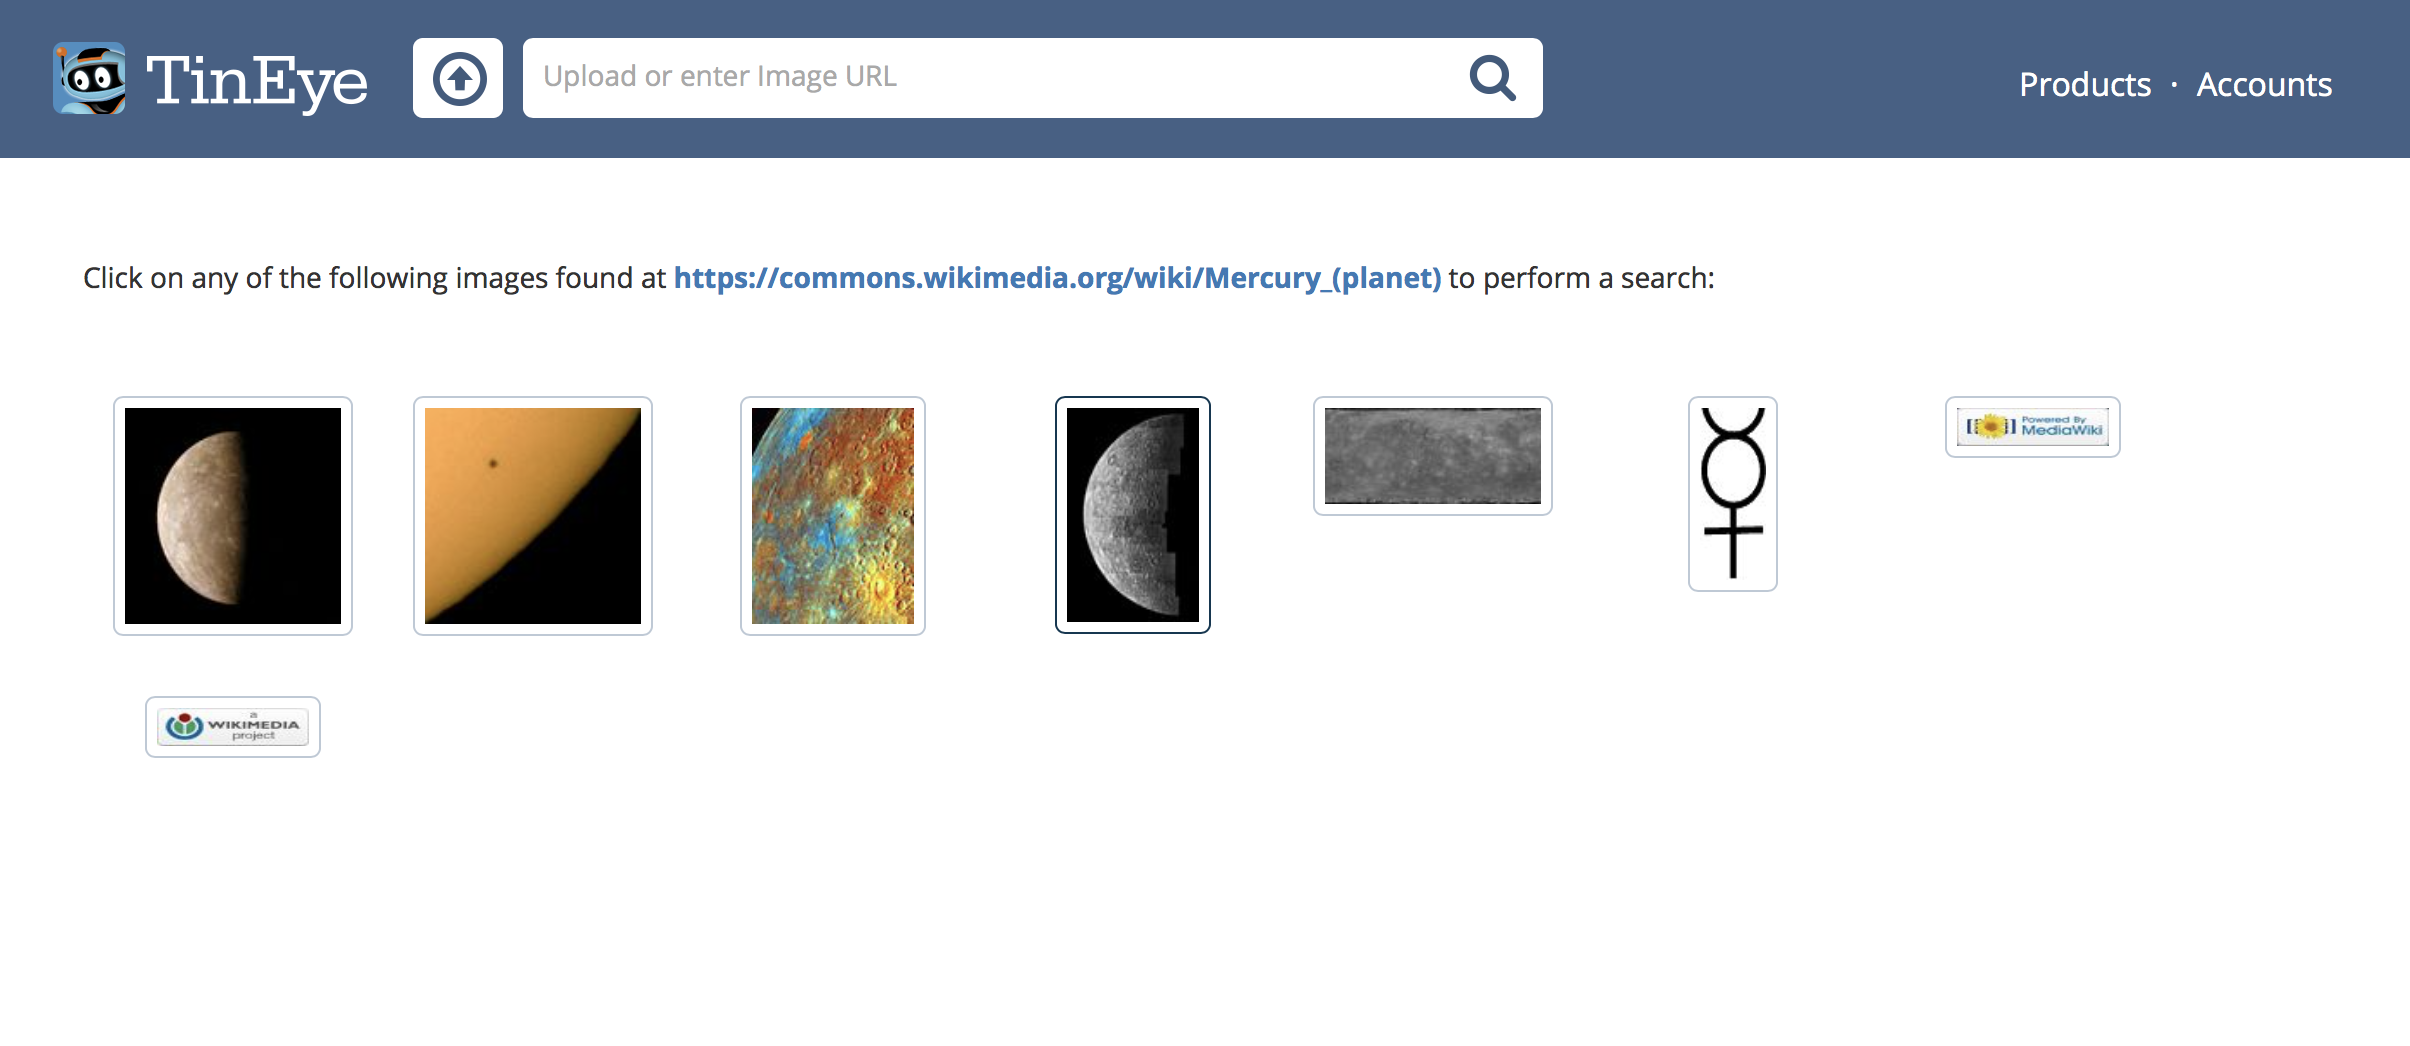 Here’s an example URL you can try: https://commons.wikimedia.org/wiki/Mercury_(planet).
After you submit your search image (through any method), TinEye will process the image and return any matching results in TinEye’s index. The total number of matches is shown at the top of the page alongside a thumbnail of the search image (which isn’t saved and is only shown for clarity).

The tab title and icon in your browser also reflect your search image and number of results (which is useful for comparing multiple searches at a glance).

2. What TinEye does with your search image
TinEye does not save your search images. When you search with TinEye, your image is not saved, and not added to the TinEye index. TinEye adds millions of new images from the web every day by crawling the web directly. Using TinEye is private and secure.
3. Using TinEye browser extensions
You can search TinEye directly by right-clicking on images you find online. To do that, you will need to download and install a TinEye extension. We have extensions for Firefox, Opera, Chrome, and Edge.

4. Sorting and filtering TinEye results
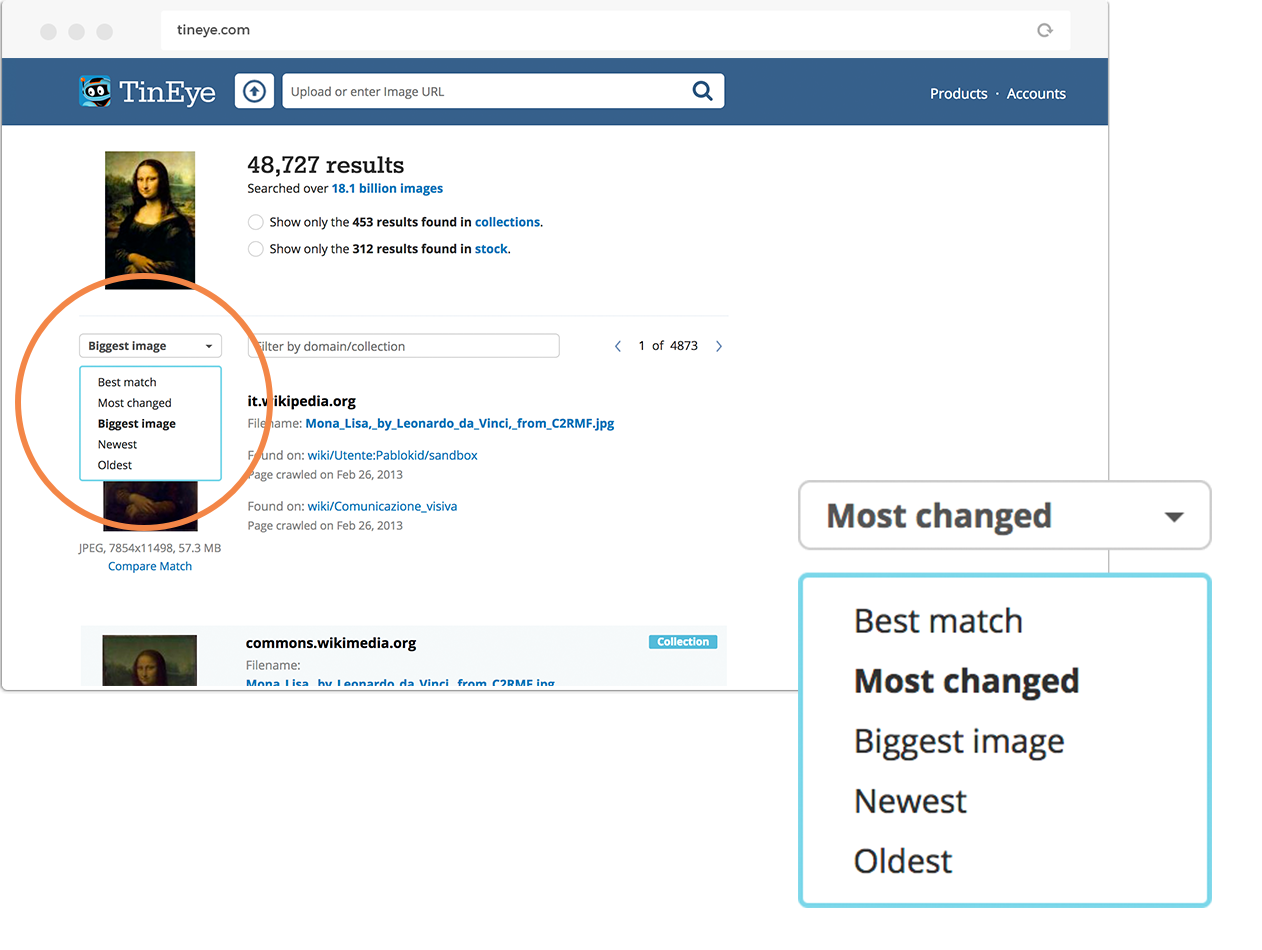
When you search for an image, you may get lots of results, which you can be sorted and filtered in a few different ways. There are five ways you can sort TinEye search results:
- Best Match: Shows images that are visually closest to your search image first. This is the default sort option.
-
Most Changed: Shows images that are the most transformed from your search image first (heavily-edited images).
- Biggest Image: Shows images with the highest resolution first.
- Newest: Shows images most recently found by TinEye first.
- Oldest: Shows the earliest found images first.
5. Filtering by stock photo, other image collections, and by domain
Image collections are groups of images TinEye has assembled from crawling the web. At the top of the results page, you can choose to only show results from collections (Flickr, Wikimedia, etc.) or stock photo sites (where you can license an image for use, like Shutterstock).

In this example, let’s filter by collections to see if we can narrow down our results to matches from image collections (like Wikipedia).
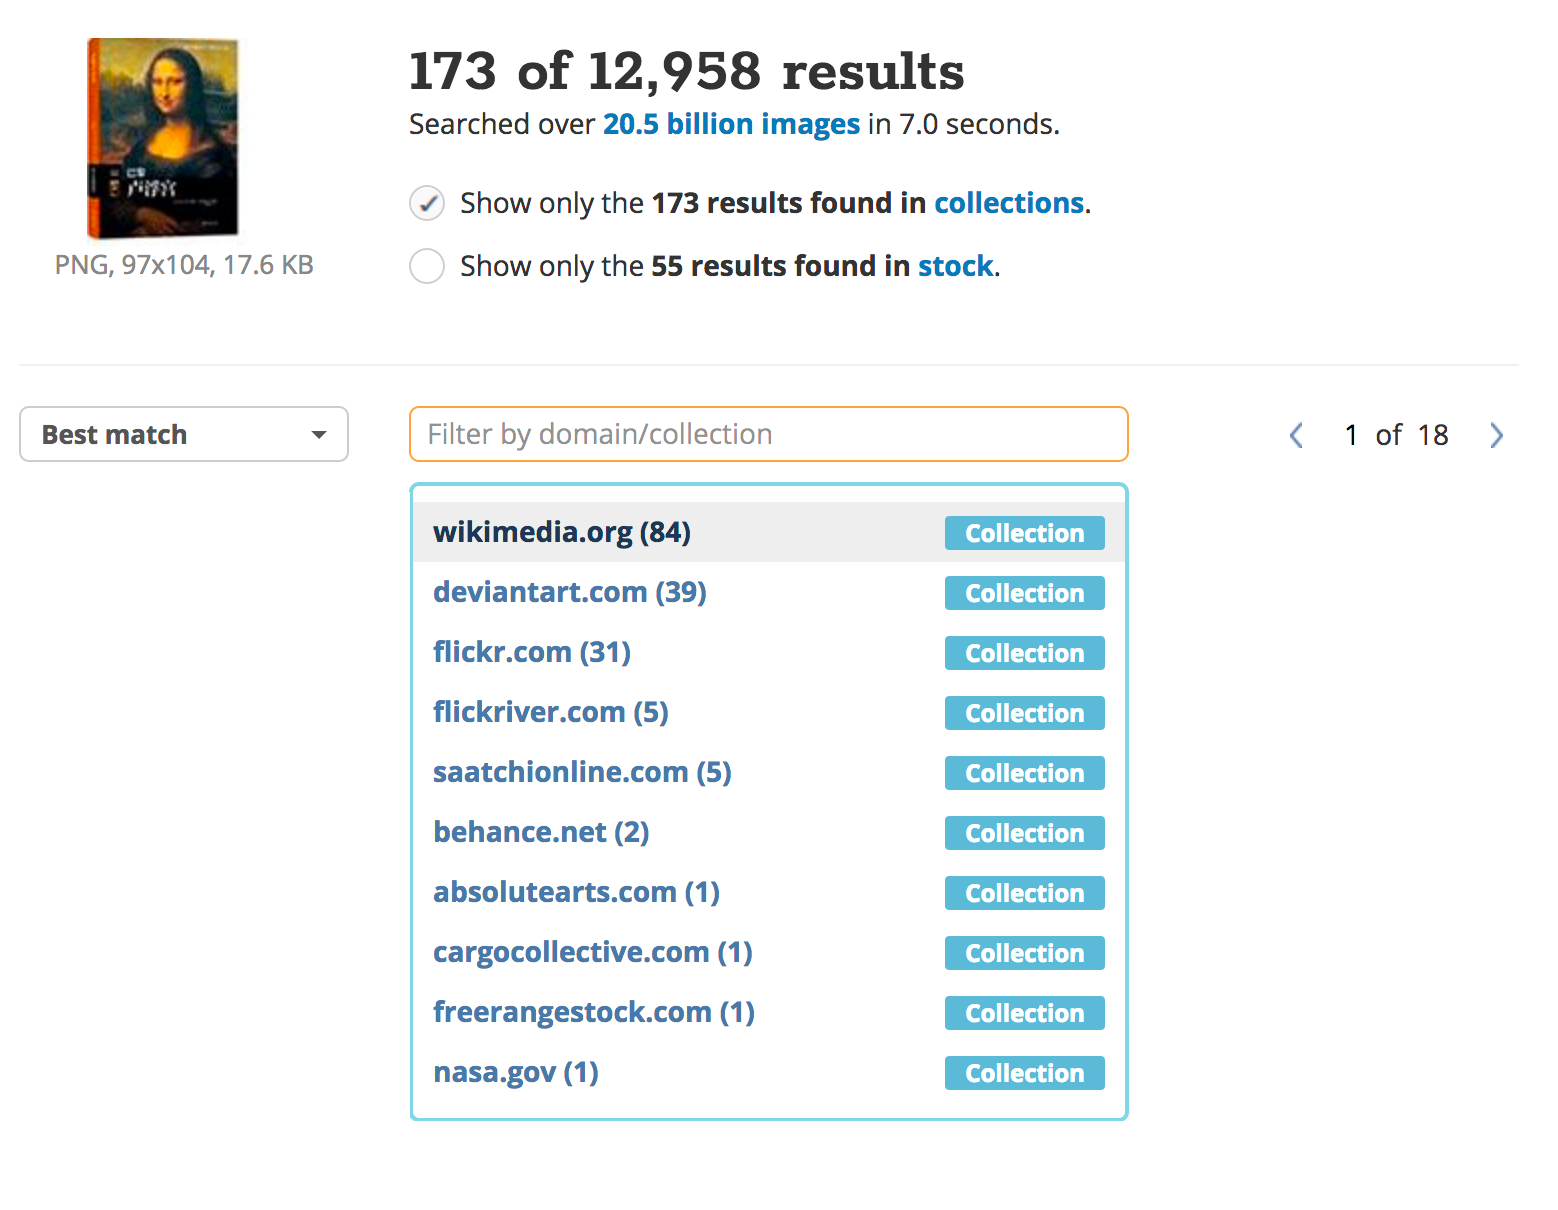
Limiting the results to only those found in collections reduces the number of results you see. We have the option to view results from individual collections, like NASA or Wikimedia. For more on stock photography filtering, jump to the section “Finding and using stock photography” below.
Filtering by domain
If you want to know whether versions of your seach image appear on a specific website, you can simply enter the website address in the “filter by domain/collection” field.
6. Comparing your search image with TinEye results
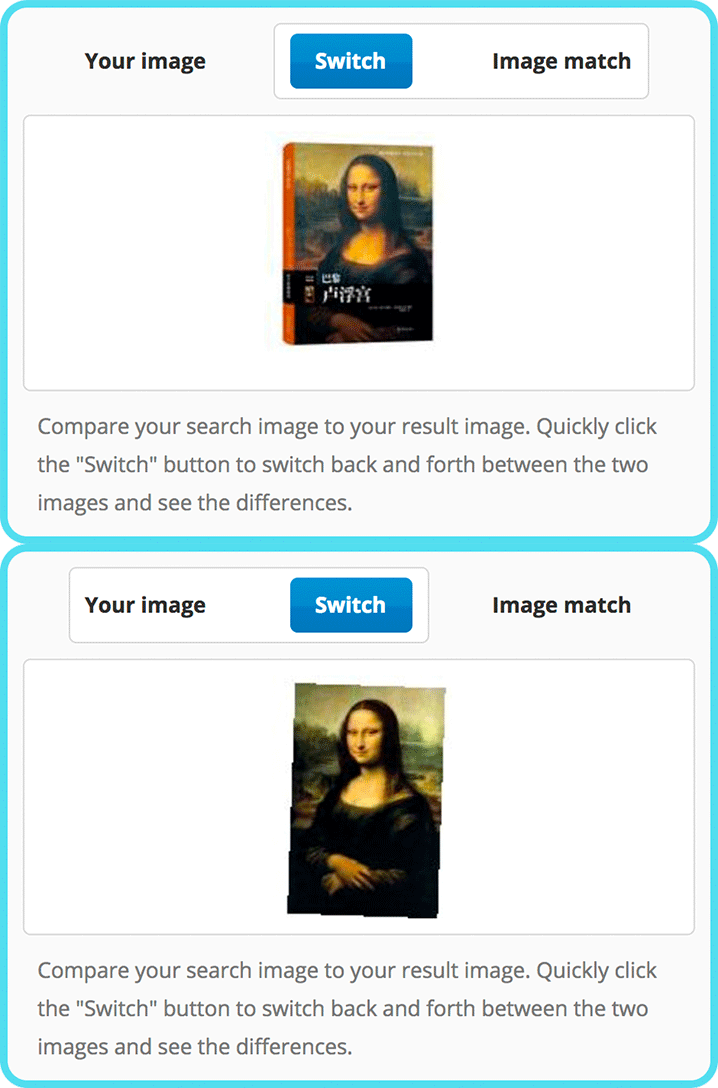
TinEye has a comparison tool that lets you switch back and forth between a match and the original image to compare them. This highlights differences between the two images, making changes easier to see. Click on the image thumbnail or the “Compare Match” link to activate the comparison feature.

7. Working with TinEye search results
Here are some examples of common uses for TinEye search results:
Finding and using stock photography
A common use of TinEye is tracking down a stock photograph to find out where it can be licensed. You may have an image in a light-box, or you may have downloaded a comp image, and do not have any data to determine which website it originated from.
So let’s try to find the original source for this photo of a wolf to see how that’s done.

First we upload the photograph to TinEye, and filter the results to only show images found on stock photography sites:
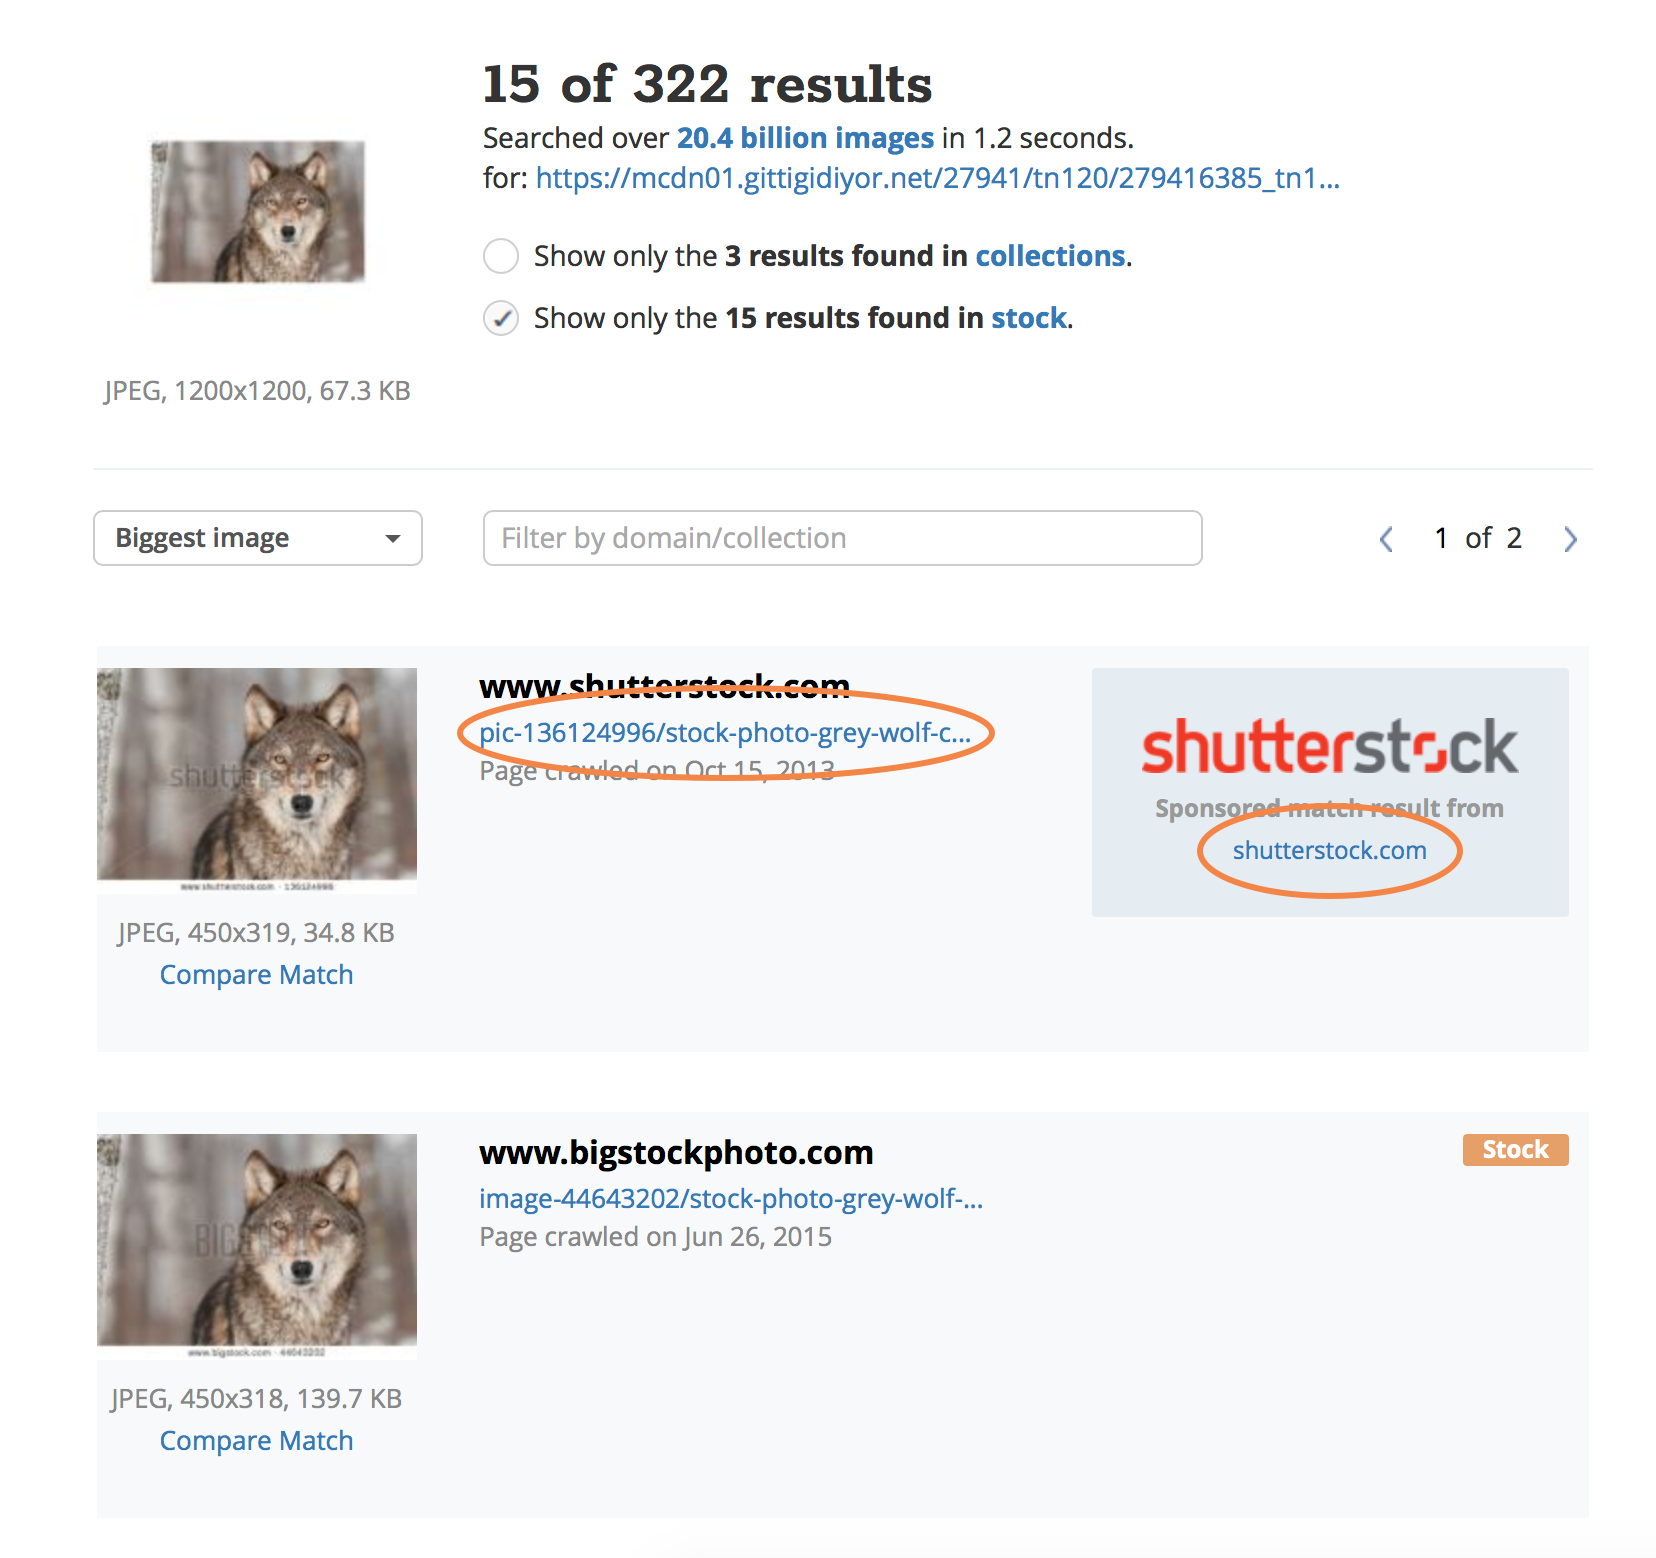
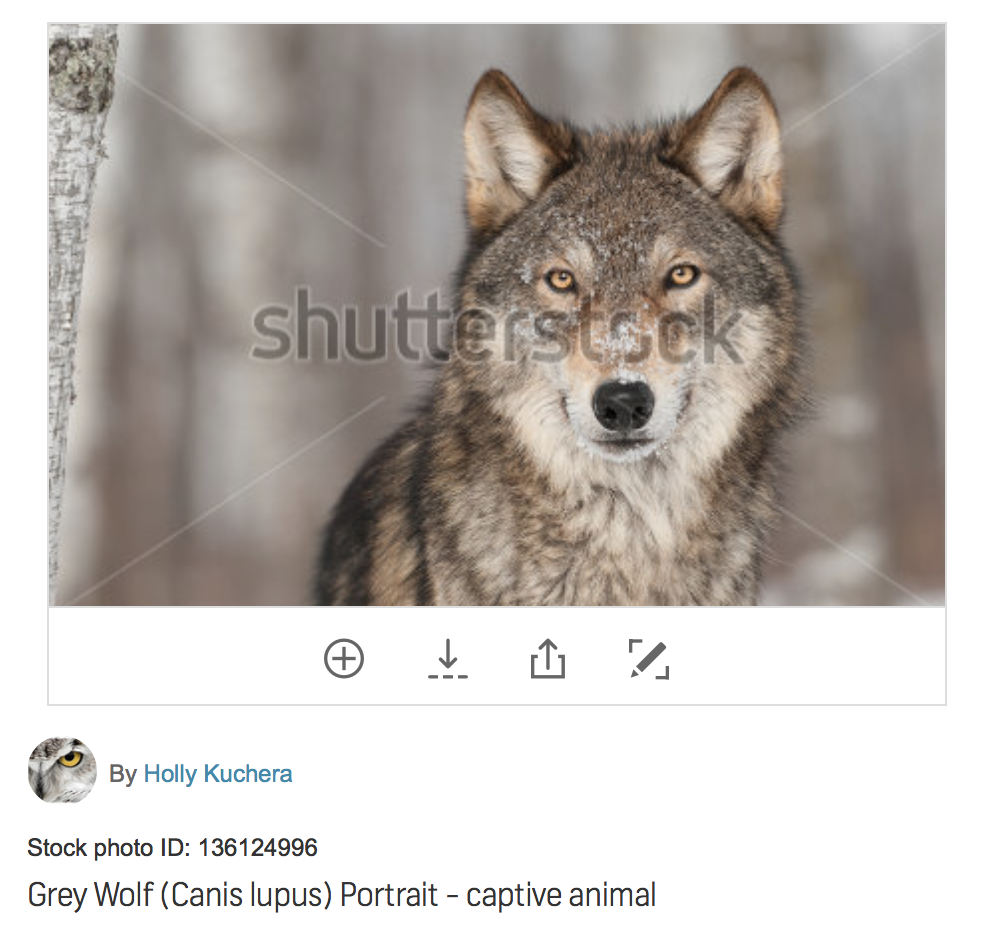
The wolf image is a stock photograph being sold on Shutterstock. The links circled in orange will open the site where the original image is available for license. Once on the stock photo website you can license the image, find out about the photographer, or find similar images from the stock photography provider.
Verifying profile photos
A common use of TinEye is checking a profile photo (say, from a dating site) to see if it’s unique. If TinEye finds matches for an uploaded profile photo, that means the image appears publicly online. Check the domain of each match to find out where the image appears to assess if it is genuine or what you expect it to be.
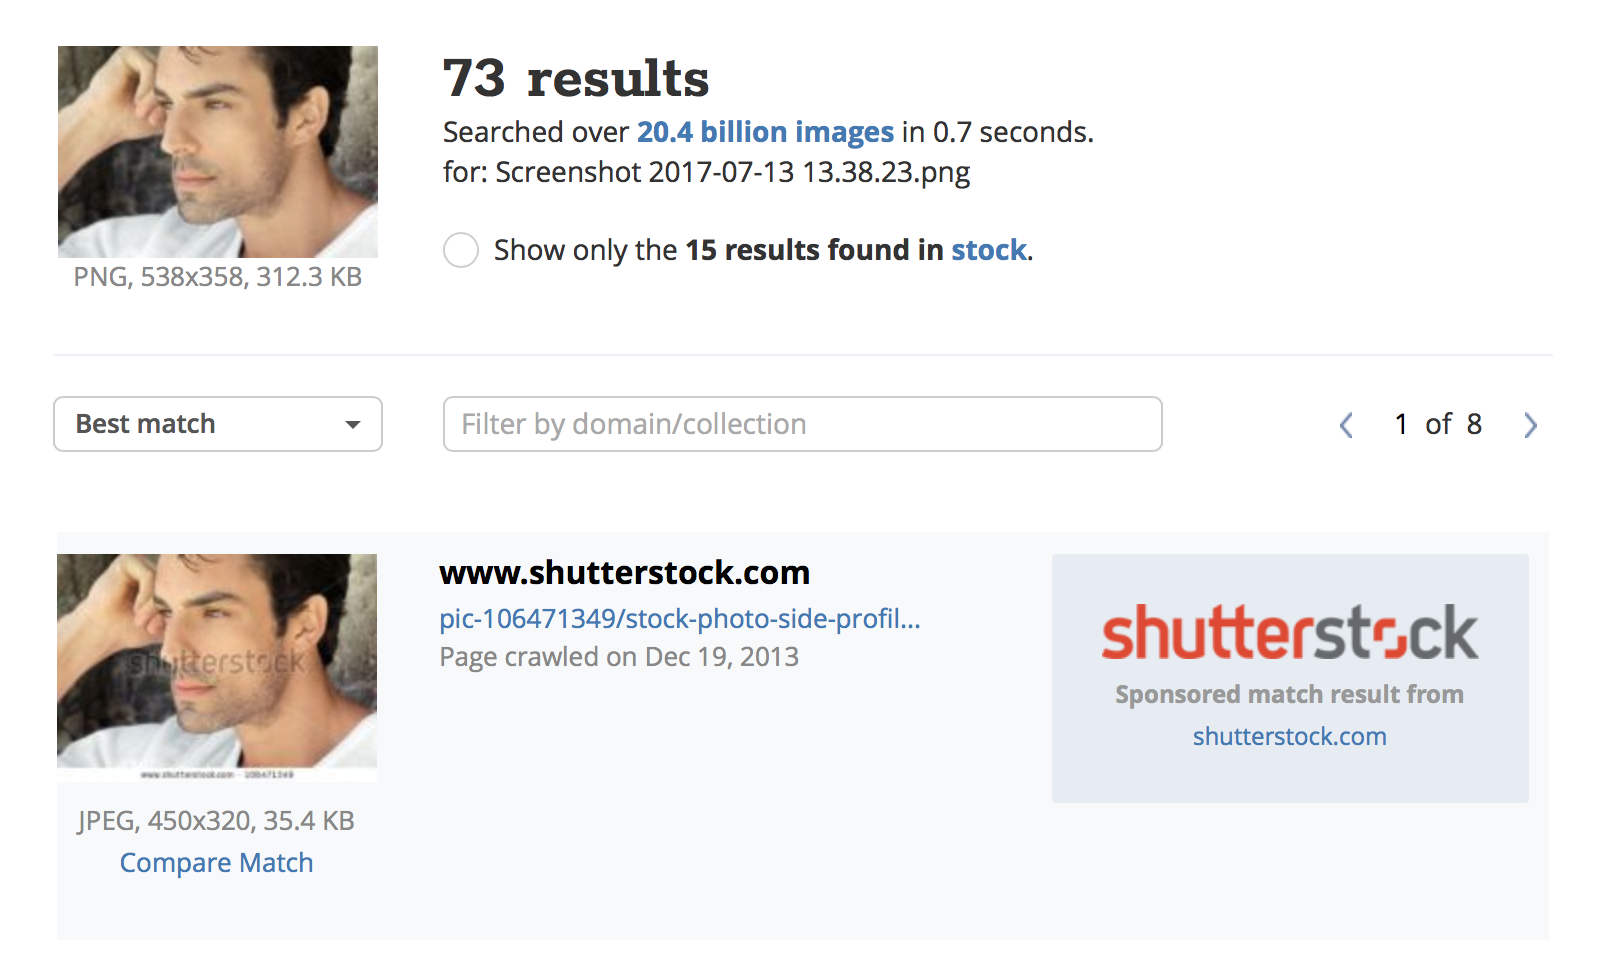
For example, this search for a profile photo has turned up 73 results (including 15 results from stock photo collections). Just seeing matches doesn’t mean the profile is fake; they could be from other dating sites or social media. But multiple results from stock photo sites, like this example, means the person in this dating profile is using a stock photo as their profile image!
8. Using images found with TinEye
TinEye shows you where images appear online, but it can’t grant permission to use images found in the search results. Most images found online are protected by copyright though some are freely usable, for example public domain images. If you would like to use any image found through TinEye, you will need to ensure that you secure the rights to that image.
9. What finding no TinEye results for your image search means
If your search returns no results, that means it doesn’t exist in the TinEye’s index. It could still exist somewhere the entire internet, but TinEye hasn’t found it yet.
For more information on how TinEye works and answers to specific questions, check out our extensive Frequently Asked Questions page. You can also send us your feedback any time.
Happy searching!