We’ve introduced a new feature to the TinEye API: the ability to automatically top up your account so you never run out of searches. This slightly changes how you sign up for the TinEye API, so here’s a little refresher!
First, you should know:
- Payment for the TinEye API is by credit card only, except for enterprise volumes. If you require an enterprise account (two million or more searches), please contact us.
- We accept all credit cards. Payments are securely processed by Stripe.
- You can buy as many or as few bundles as you need. Searches expire in two years if they are not used.
1. Choose your search bundle
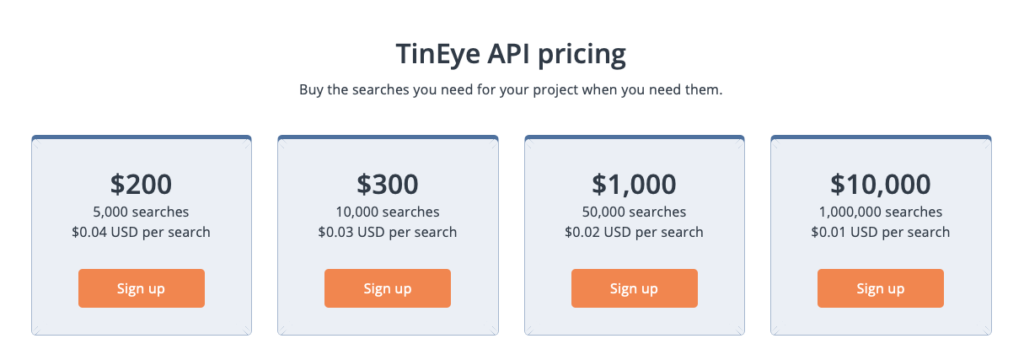
Go to the TinEye API page and click on “sign up” under your desired search bundle.

2. Purchase a bundle and create an account
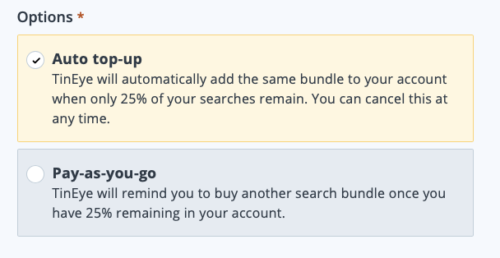
On the sign up page, choose if you would like to enable automatic top-up. With auto top-up you can ensure that your account never runs out of searches. You can cancel this at any time.

Next, complete your payment, login and account details to buy your API search bundle.
3. Confirm your account and log in
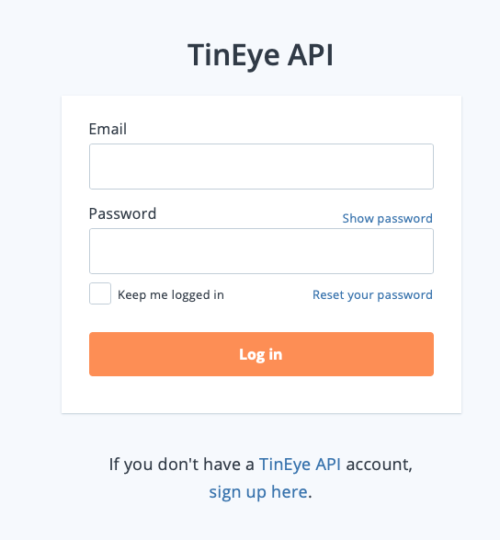
Check your email for a message from TinEye and click the verification link. You will be asked to log in with the email and password that you just used to sign up.

4. Getting started
Once you’re logged in, you’ll find yourself on the Getting started page. From here you can:
- Get your TinEye API keys for using when integrating TinEye search in your apps
- Install TinEye API browser extensions, which let you right-click on web images and search them using TinEye API
- See how many searches you have left
- Access the TinEye API Sandbox for testing your code integration
- Follow links to useful how-to articles
- Contact TinEye support
You can navigate back to this page at any time by clicking on “Getting started” in the menu bar at the top of the page.

5. Searching
You can search the TinEye API manually on our website or automatically by integrating the API with your application. You can learn how to search the TinEye API manually here; to learn about integrating the TinEye API with your application, check out our Getting started guide in our developer documentation.

Happy searching!


